Journal · Guides
Assembling RTA cabinets: a weekend guide
Flat-packed cabinets go together faster than most people expect. The tools, the order of work, and the pro tricks for hanging and leveling them so the doors line up.
nxios design · September 15, 2026
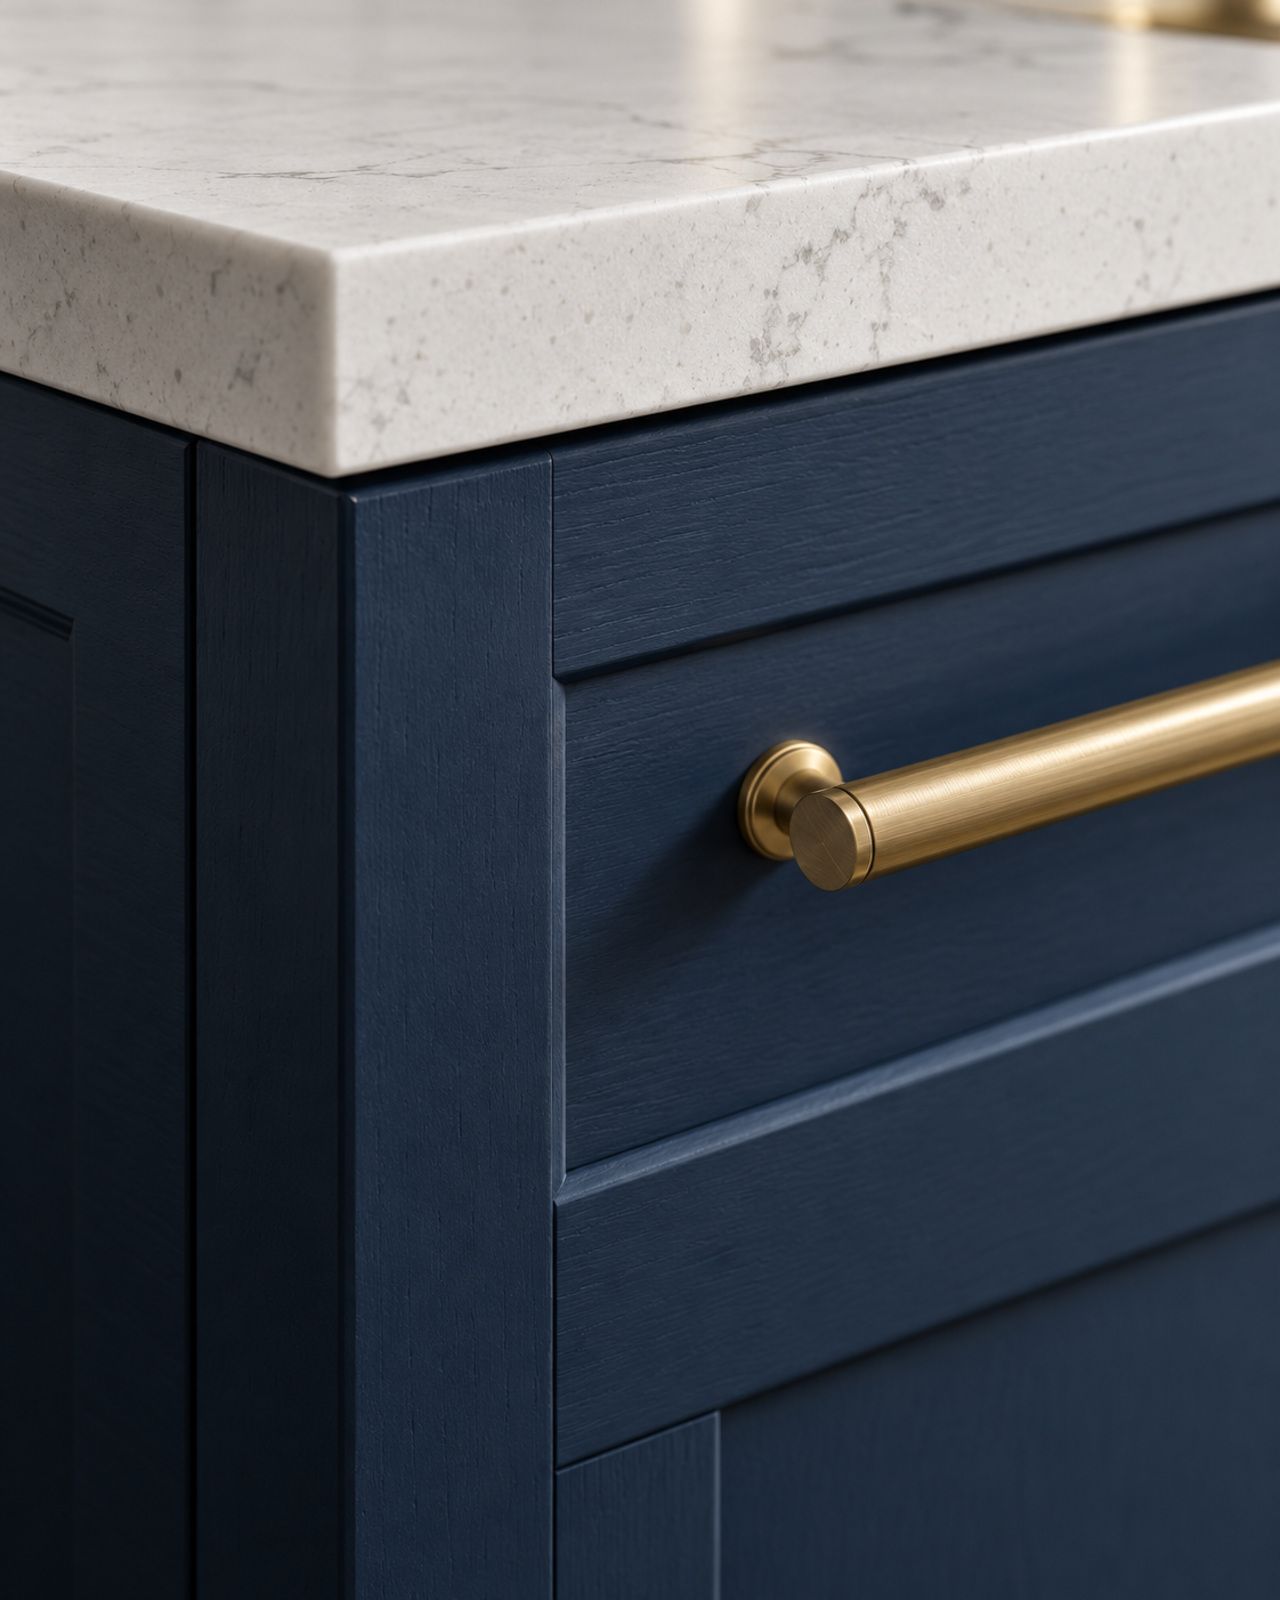
Ready-to-assemble cabinets arrive flat, one box per cabinet, with the doors, drawers and hardware inside. Building a box takes most people 20 to 40 minutes once they have done the first two. Installing them well takes a little more care. This guide walks through the whole job in the order the pros do it.
Always follow the instructions that come in the box for your series. The steps below are the general method, and the details vary from one cabinet line to another.
Before you open a box
- Check the delivery. Count the boxes against your packing list, and look for crushed corners before the driver leaves. Note any damage on the delivery receipt.
- Clear a space. Assemble in a room next to the kitchen on a blanket or the flattened boxes, so the finished faces don't get scratched.
- Unpack one cabinet at a time. Keep each cabinet's parts and hardware together until it is built. Mixing up two bags of hardware is the most common way to lose an hour.
Tools
- A cordless drill/driver and a set of bits
- A 4-foot level and a shorter torpedo level
- A stud finder, a tape measure and a pencil
- Two or three clamps
- Composite or wood shims
- A rubber mallet
- Wood glue, if your series' instructions call for it
Building the boxes
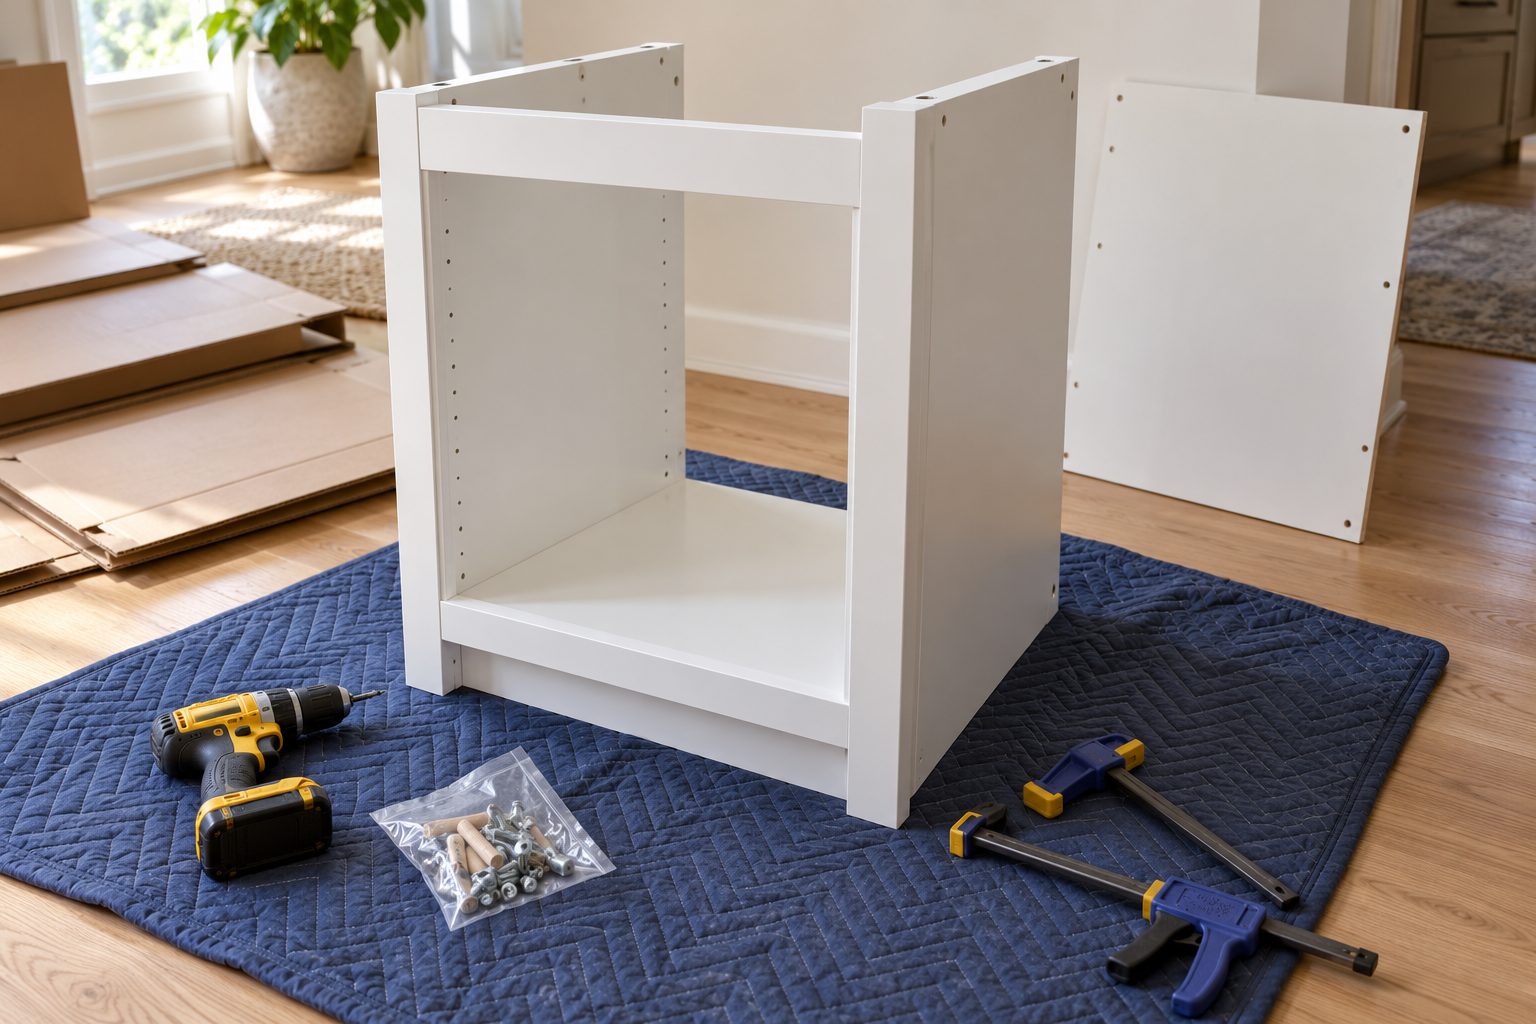
- Lay out the parts and match them to the drawing.
- Join the sides to the bottom first, then the back and the rails, using the connectors supplied. Tighten cam locks firmly but stop when they bite; overtightening strips the hole.
- Check for square by measuring the two diagonals of the box. When they match, the box is square. Do this before the glue sets or the last screw goes in.
- Leave the doors, drawer fronts and shelves off for now. The box is lighter to hang and easier to level without them.
Installing: wall cabinets first, or base first?
Both work. Many installers hang the wall cabinets first so they can stand close to the wall without leaning over the base cabinets. Others set the base cabinets first and use them to support the uppers. If you are working alone, uppers first is usually easier.
Hanging the wall cabinets
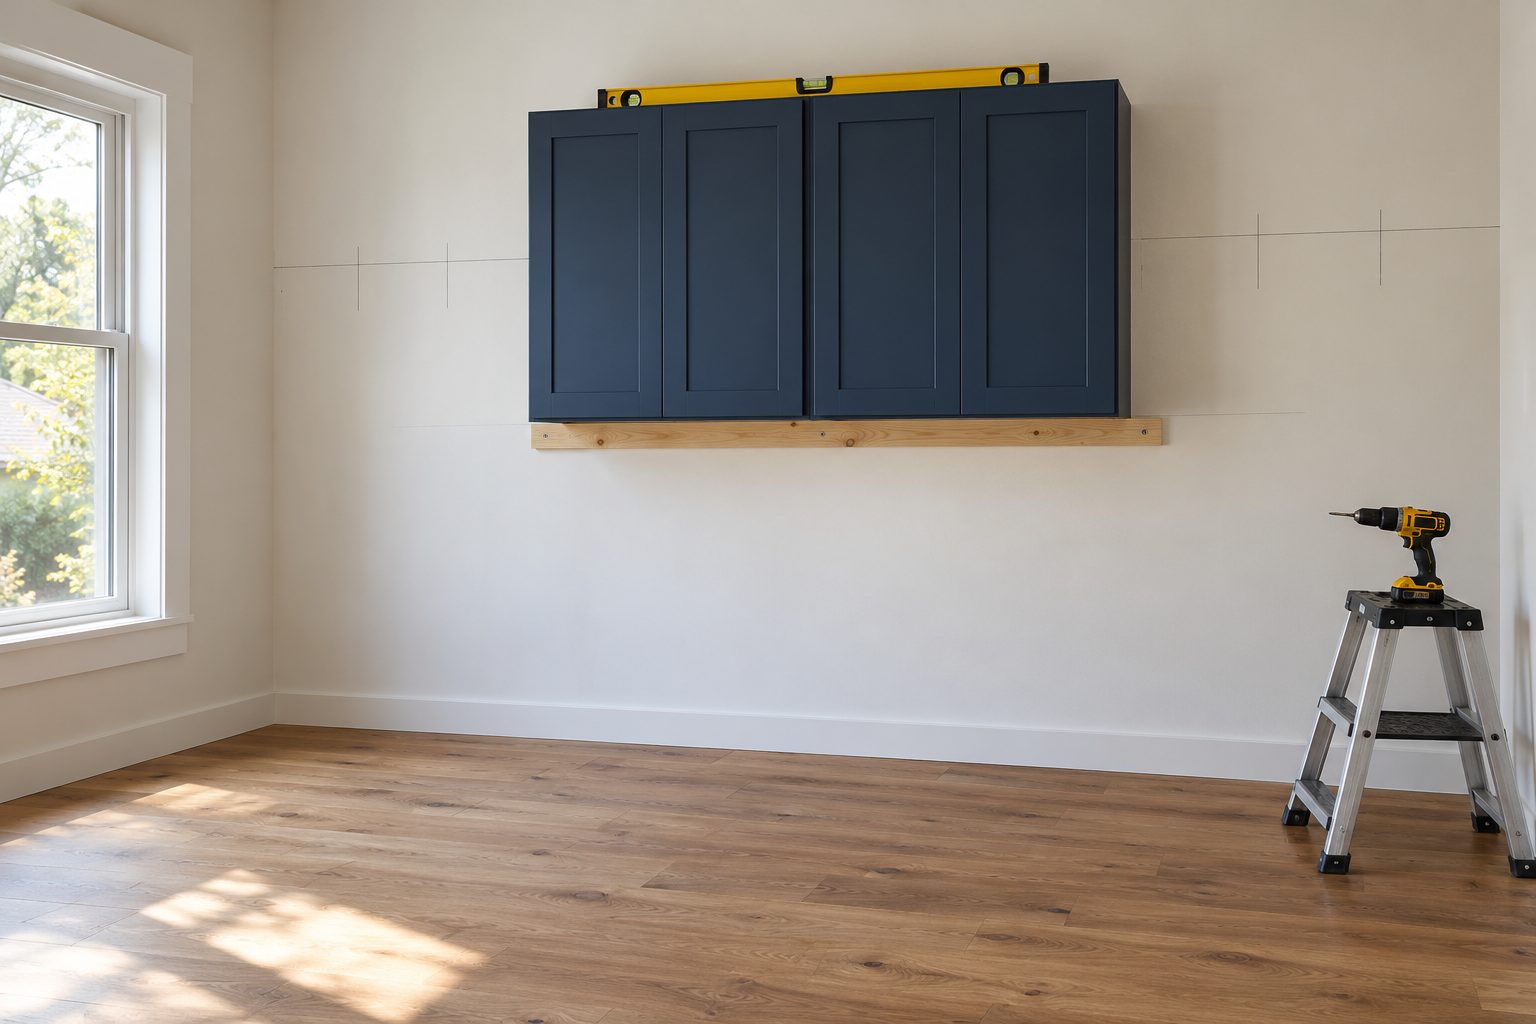
- Find the high point of the floor along the cabinet walls. Every height is measured from there.
- Draw a level line for the top of the base cabinets, usually 34½ inches above the high point, and another for the bottom of the wall cabinets, usually 54 inches (18 inches above a 36-inch counter).
- Screw a straight board to the wall with its top edge on the 54-inch line. It holds the cabinets while you work.
- Mark every stud. Wall cabinets hang on the studs, never on drywall anchors.
- Start in a corner. Rest the cabinet on the board, check it for plumb, and screw through the hanging rail into the studs.
- Clamp the next cabinet to it, line up the fronts and tops, and screw the two together through the face frame or sides before screwing it to the wall.
Setting the base cabinets
- Start in the corner again, and at the high point of the floor.
- Shim under the cabinet until it is level front to back and side to side, and at your line.
- Clamp each new cabinet to the last, level it, and screw them together before fixing them to the wall.
- Fit fillers where the plan has them, usually against walls and in corners, so doors and drawers can open past their neighbors' handles.
- Add the toe kick last, once everything is level and fixed.
Doors and drawers
Hang the doors and slide in the drawers once all the cabinets are fixed. Most hinges adjust in three directions: in and out, up and down, side to side. Work from one end and adjust until the gaps are even, then fit the knobs and pulls with a drilling template so they line up across the kitchen.
When to call a pro
If your walls are badly out of plumb, or you are moving plumbing, gas or wiring, bring in a professional for those parts. Many homeowners assemble the boxes themselves and hire an installer for a day to hang and level them. You can find local installers in our directory of pros.
Still planning? Start with how to measure your kitchen.