Journal · Guides
How to measure your kitchen for new cabinets
Twenty minutes, a tape measure and a sketch are all it takes. A step-by-step guide to the measurements that matter, and the mistakes that cost the most.
nxios design · September 29, 2026
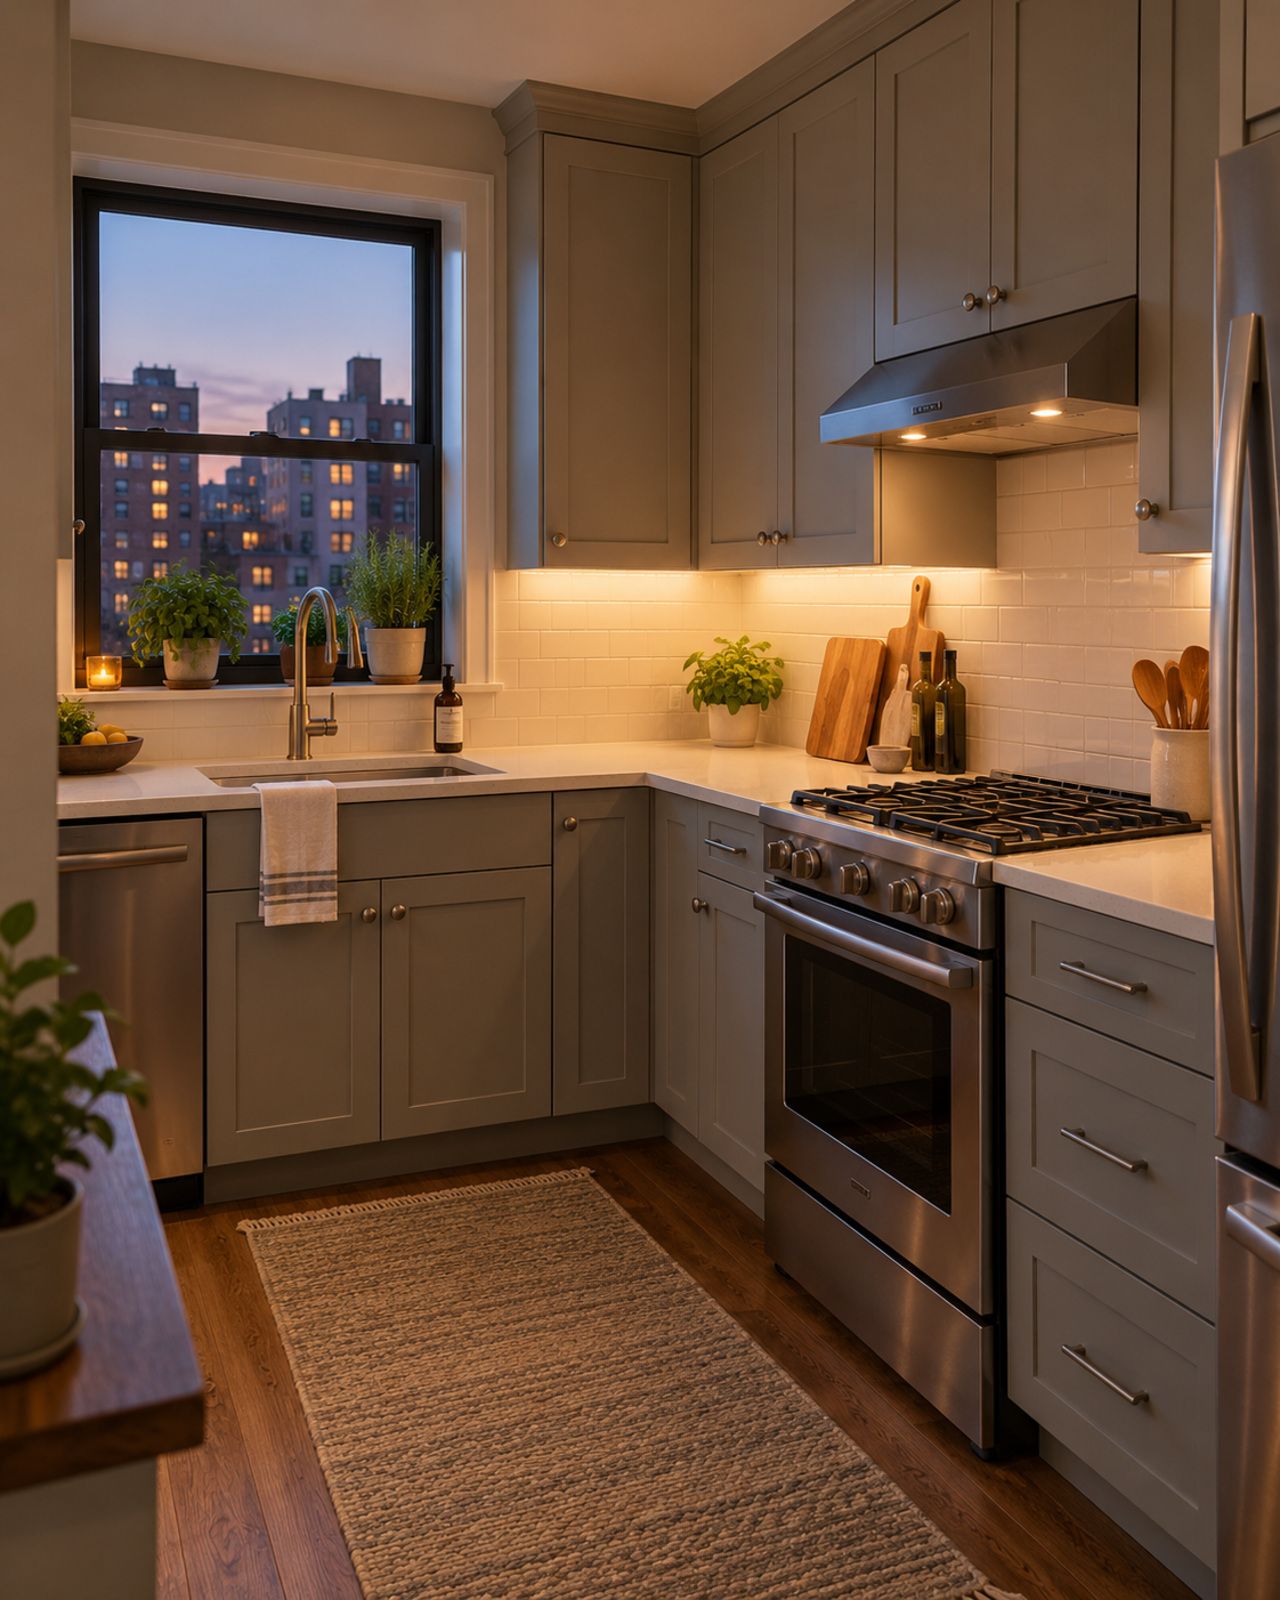
Ready-to-assemble cabinets are built to standard sizes, so the plan only works if your measurements are right. The good news is that measuring a kitchen is not hard. It just rewards patience: measure everything twice, write everything down, and never round to the nearest inch.
What you need
- A 25-foot steel tape measure. A helper makes long walls easier.
- A pencil and graph paper, or a photo of each wall you can write on.
- A 4-foot level, for checking floors and walls.
- Your appliance model numbers, or the spec sheets for the ones you plan to buy.
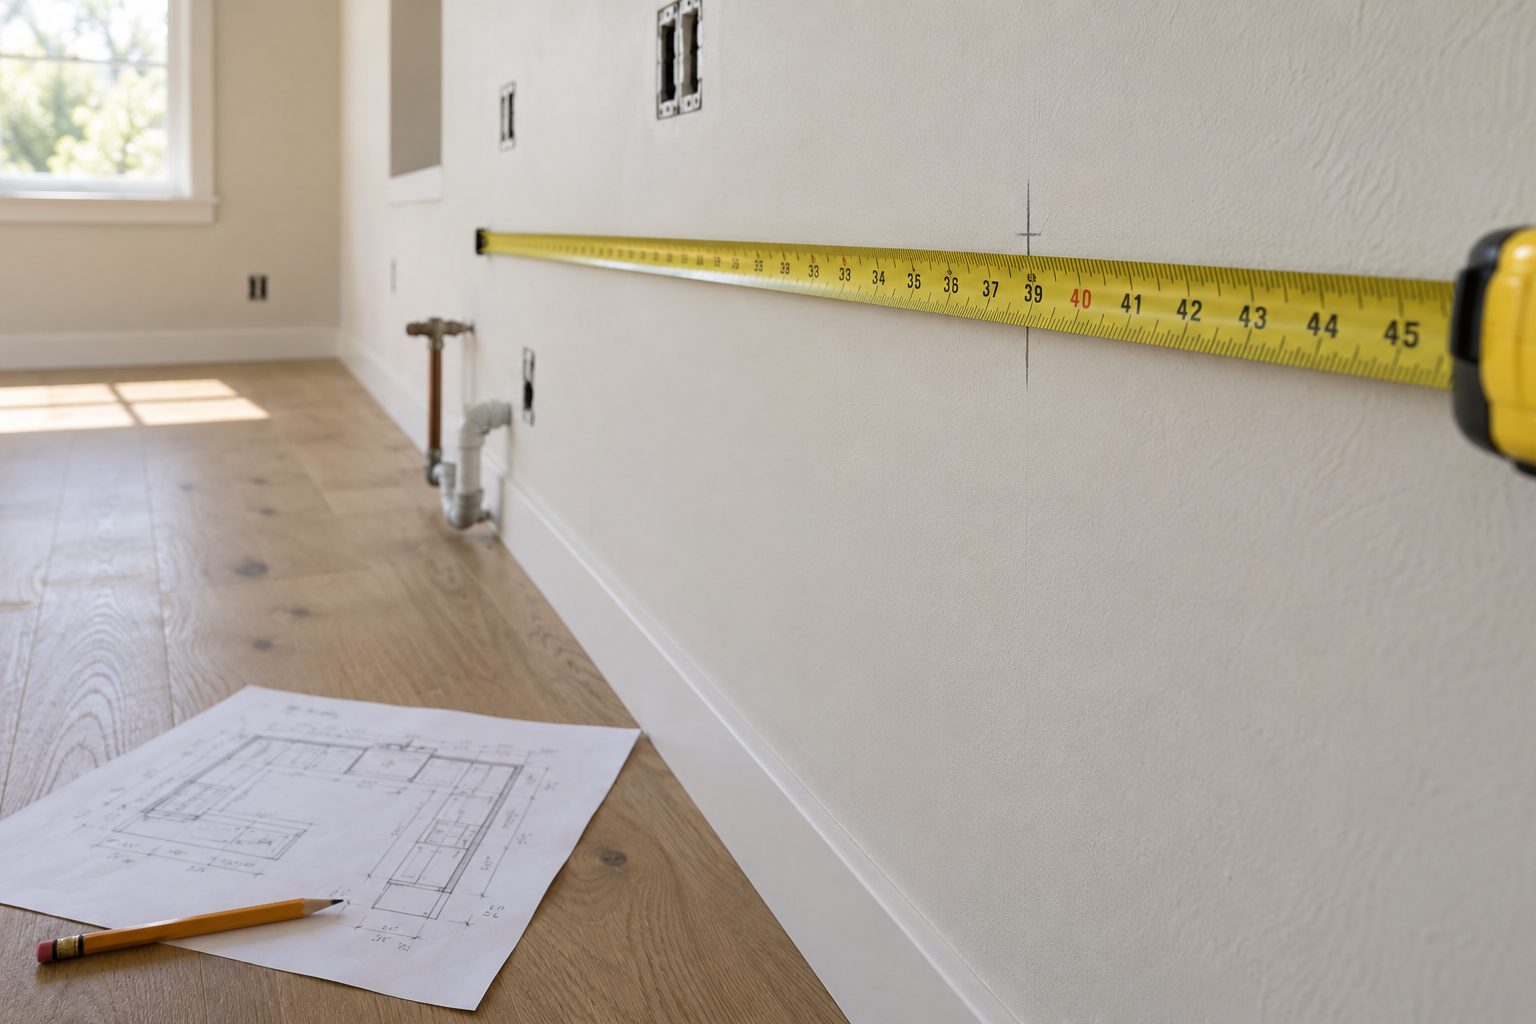
1. Sketch the room
Draw the room from above, roughly to shape. Mark every wall, door, window, and anything that sticks out: a chimney, a column, a radiator, a bulkhead over the cabinets. Number the walls clockwise so the notes are easy to follow later.
2. Measure each wall three times
Walls are rarely straight and corners are rarely square. Measure each wall corner to corner at three heights: just above the floor, at counter height (about 36 inches), and near the ceiling. Use the smallest of the three. A cabinet that is half an inch too wide will not go in, and a filler strip can always close a gap that is half an inch too small.
3. Locate doors and windows
For each opening, measure from the nearest corner to the outside edge of the trim, then the width including the trim. For windows, also measure from the floor to the sill and from the floor to the top of the trim.
Windows decide a lot. A sill lower than about 42 inches will clash with a countertop and backsplash, and wall cabinets need room on either side of the trim.
4. Measure the height
Measure floor to ceiling in a few places along each cabinet wall. Ceilings sag and floors slope, and the difference matters if you want cabinets or crown molding to meet the ceiling. While you are there, lay the level on the floor along each wall. Note the high spot: base cabinets are leveled up to it.
5. Mark the plumbing, gas and power
These are the measurements people forget, and the ones that cost the most to change. From the nearest corner, measure to the center of:
- The sink drain and the water supply lines, plus their height off the floor.
- The gas line or the 240-volt outlet for the range.
- The dishwasher's water and power, usually under the sink.
- Outlets, switches, vents and any duct for a range hood.
Keeping the sink, range and dishwasher where they are today is the simplest way to keep a renovation on budget. Our designer can lay new cabinets around your existing fixtures, so water, drain, gas and power stay where they are.
6. Write down the appliances
Note the width, height and depth of every appliance, and which way the doors swing. The common widths are a 24-inch dishwasher, a 30-inch range, and a 30, 33 or 36-inch refrigerator. A refrigerator also needs breathing room on the sides and top; its manual gives the number.
7. Check the corners
To see if a corner is square, measure 3 feet along one wall and 4 feet along the other, and mark both points. The distance between the marks should be exactly 5 feet. If it is off by more than a quarter inch, plan a little extra filler in that corner.
Common mistakes
| Mistake | What happens | How to avoid it |
|---|---|---|
| Measuring once, at waist height | Cabinets don't fit where the wall bows | Measure at three heights and use the smallest |
| Ignoring window trim | Wall cabinets hit the casing | Measure to the outside of the trim |
| Planning cabinets tight to both walls | Drawers can't open past the handles next door | Leave room for fillers at corners and walls |
| Forgetting the dishwasher door | It hits the cabinet or range across the corner | Keep the dishwasher away from inside corners |
Put it into the designer
Once you have the numbers, enter them on the Room page: the room size, the doors and windows, and where the sink, range, refrigerator and dishwasher are today. If you are short on time, you can also measure a wall from a photo: take a picture straight on with a tape stretched along the wall, or use the 36-inch counter height as the scale.
The designer then checks your plan as you go, for overlaps, doors, windows and walkways, and checkout stays closed until you confirm your measurements. Next up: planning a layout that works.